


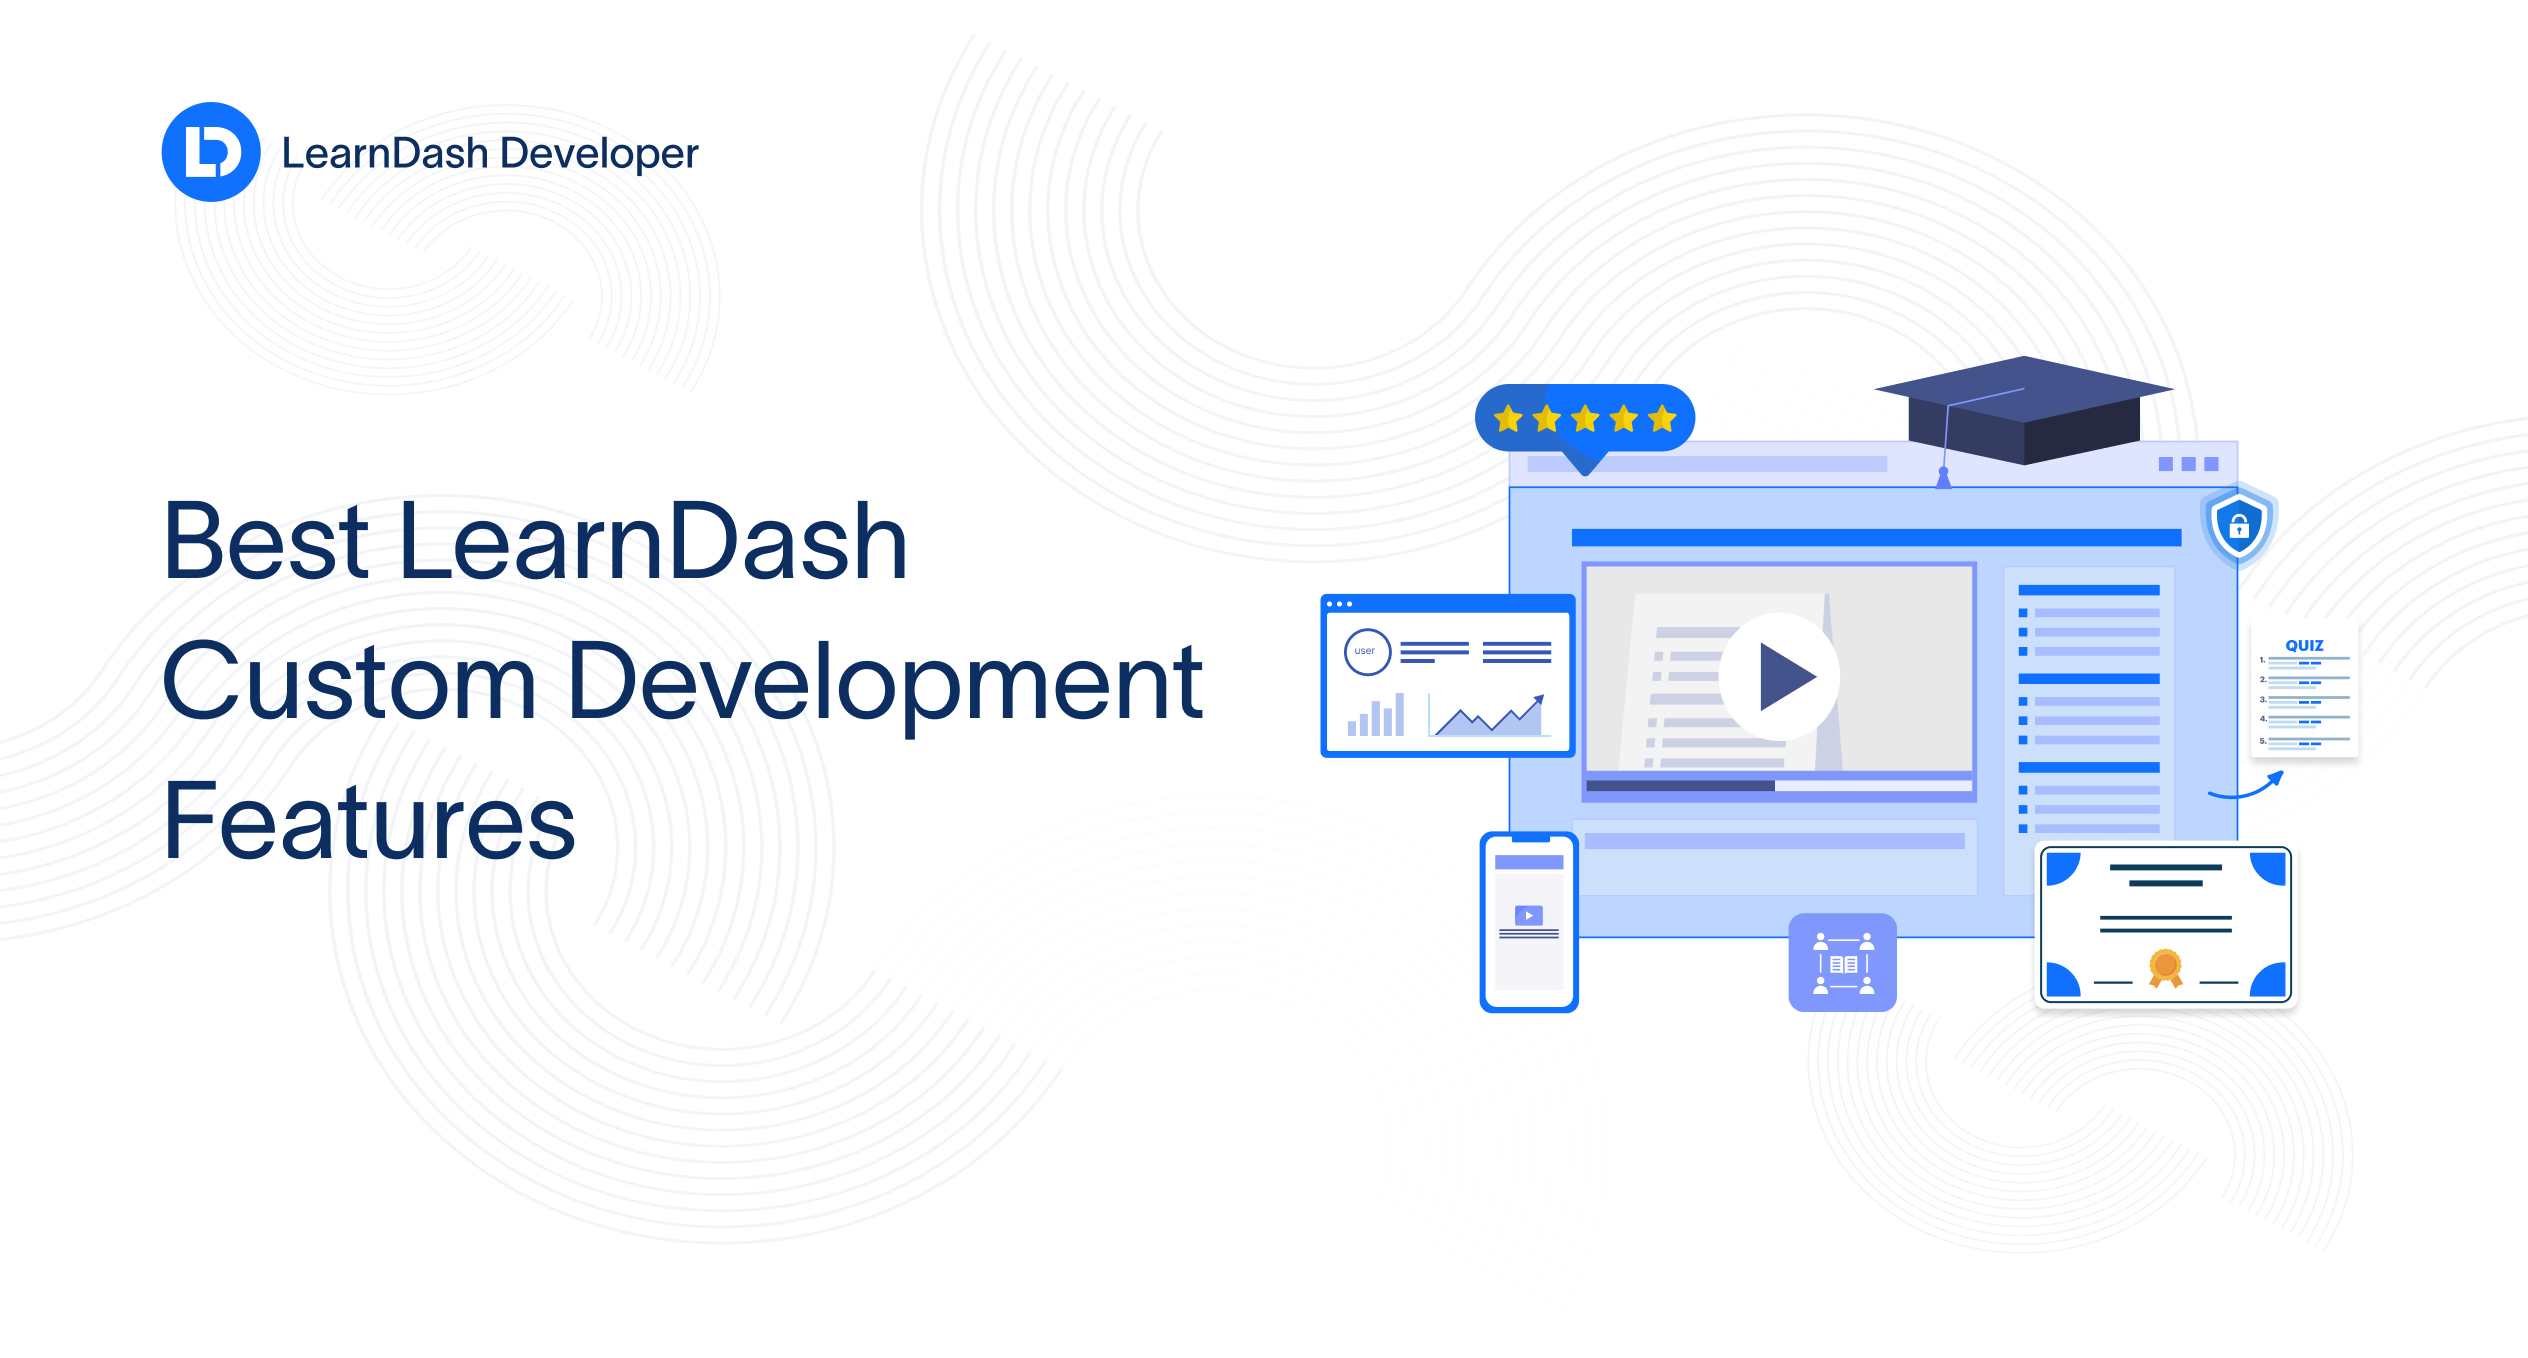
Best LearnDash Custom Development Features
LearnDash is a powerful LMS, but most successful platforms don’t rely on default features alone. With the right LearnDash Custom…
Read More
When you’re setting up an online course platform, payments are usually the part people underestimate. A payment gateway LMS might sound like a technical task, but in reality, it decides whether users actually complete their purchase or leave halfway.
You could have great courses, strong marketing, and traffic coming in, but if the payment flow feels confusing or unreliable, sales drop. That’s why having a clear setup process matters.
This checklist is here to help you walk through the entire payment process step by step, from how you price your courses to how taxes and compliance are handled, without turning it into something complicated or overwhelming.
A payment gateway LMS does much more than just process transactions. It affects how trustworthy your platform feels and how smoothly everything runs in the background.
Most payment-related problems in LMS platforms happen because things were rushed or not planned properly in the beginning.
Before jumping into payment gateway settings, take a moment to think about how you actually want to sell your courses. This part is often rushed, but it sets the foundation for everything that comes next — from checkout flow to subscriptions and refunds.
Some creators prefer one-time payments. Others rely on subscriptions or installment plans. There’s no single right choice, but you need to decide early.
A flexible pricing setup works best when your payment gateway LMS supports changes without breaking the flow.
This part isn’t as straightforward as it sounds. A lot depends on where your users are based and how they usually pay online. What works well in one region might not work at all in another.
For example, some payment gateways handle international payments without issues, while others are mainly built for local use. Things like fees, currency support, and whether subscriptions are easy to manage tend to matter more than people expect.
Popular options used in many LMS platforms include Stripe, PayPal, Razorpay, Square, and Authorize.net.
Always double-check compatibility with your LMS before finalizing anything.
This is where things can quietly go wrong.
A payment gateway LMS must communicate properly with the LMS logic. If that connection breaks, users might pay but not get access, which creates frustration and support tickets.
Webhooks are usually the safest way to keep payment events and enrollments connected.
Checkout doesn’t need to be fancy. It just needs to be clear.
When users reach the payment page, they should immediately understand what they’re paying for and how much it costs.
A smooth checkout experience makes your payment gateway LMS feel reliable, even to first-time users.
Not everyone prefers paying the same way.
Some users use cards, others prefer wallets or bank transfers. Limiting options can lead to abandoned checkouts.
Taxes are often ignored until they become a problem.
Depending on where you operate, you may need to collect GST, VAT, or sales tax. Your payment gateway LMS should handle this cleanly.
Once a payment goes through, users expect confirmation right away.
If they don’t receive an email or receipt, they may think something went wrong.
Automated communication improves trust and reduces follow-up questions.
Refunds are part of the process, especially for online courses.
What matters is how cleanly the system handles them.
Make sure:
A good payment gateway LMS keeps refunds and access control aligned.
Security isn’t optional when money is involved.
Users need to feel safe entering their payment details, and your platform needs protection too.
Strong security builds confidence and protects your LMS in the long run.
Before launching, test every possible payment scenario.
Not just the successful ones.
Testing helps you catch small issues before real users do.
A well-set-up payment gateway LMS makes a real difference to how your online course business performs. It affects user trust, conversions, and even support workload.
Taking time to get pricing, checkout, taxes, and security right from the beginning saves a lot of stress later. Whether you’re using an existing LMS or building a custom one, this checklist gives you a practical starting point.
LearnDash is a powerful LMS, but most successful platforms don’t rely on default features alone. With the right LearnDash Custom…
Read More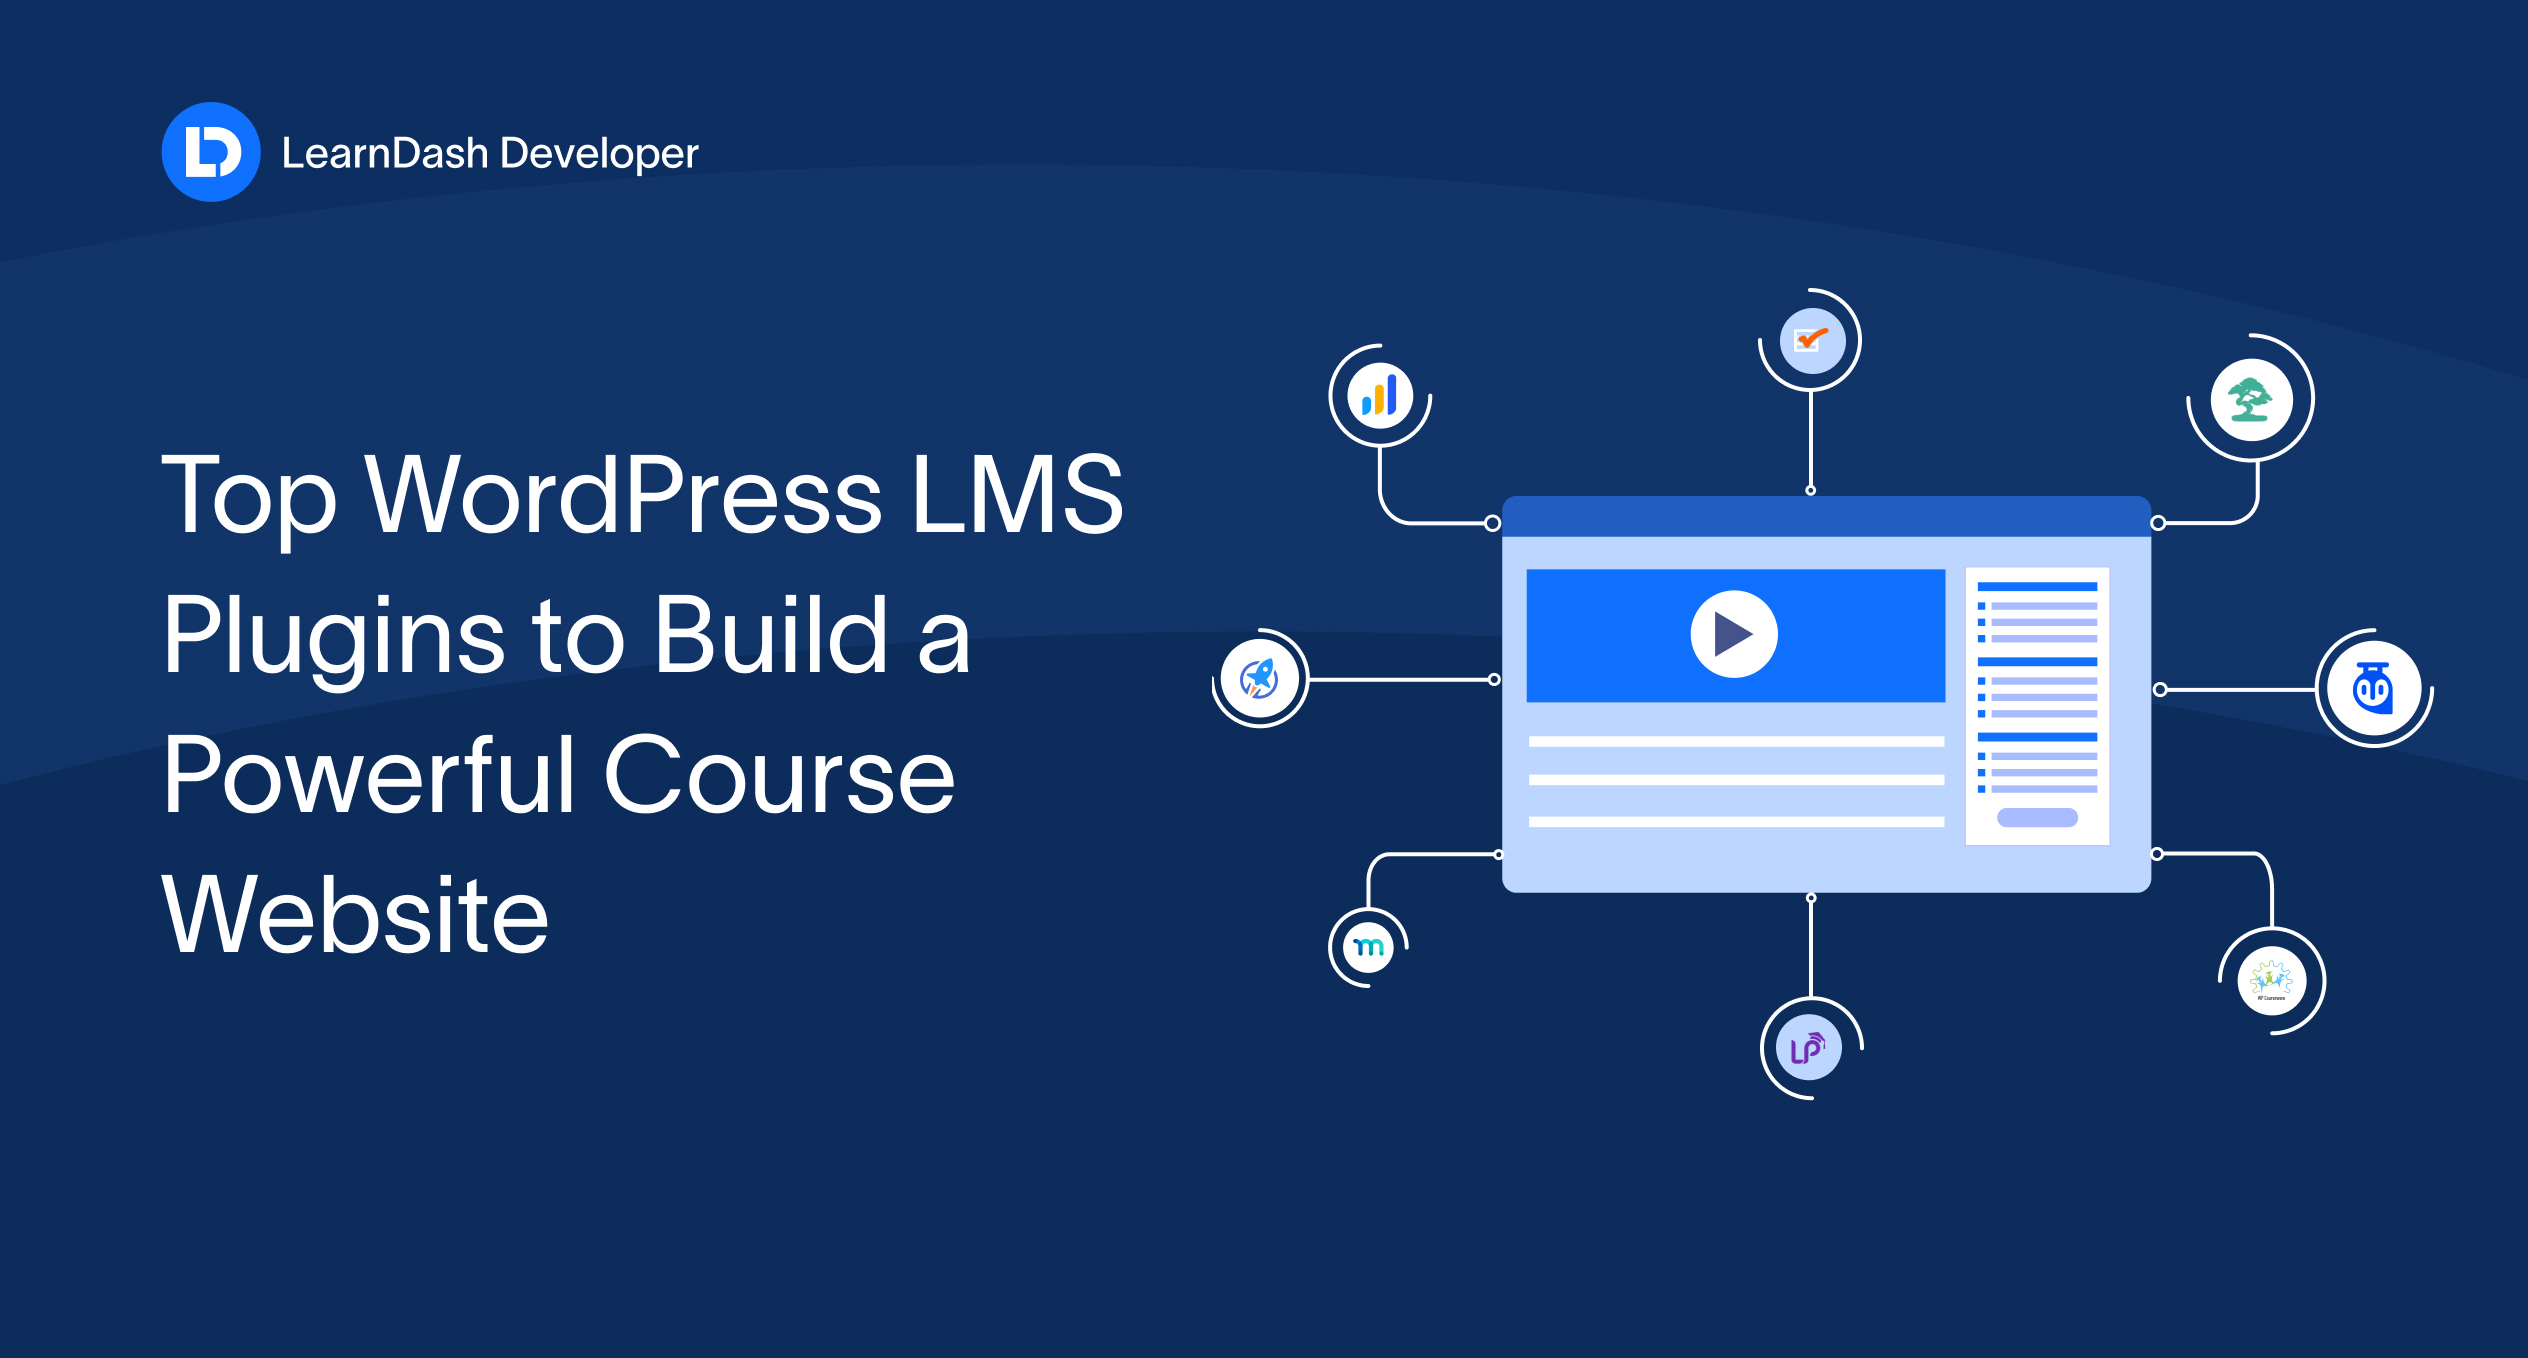
Building an online course website is a lot easier these days, especially with WordPress. If you’re teaching something, coaching people,…
Read More
When you Migrate to LearnDash from another LMS platform like LifterLMS, LearnDash Cloud, or any other learning platform, it can…
Read More